How to Set Up WordPress: Domain, Hosting, and One-Click Installation

Launching your first WordPress site takes 15-30 minutes with the right domain, hosting, and installation method. This step-by-step 2025 guide eliminates technical hurdles, covering everything from domain selection to first login for complete beginners.
Step 1: Choosing the Perfect Domain Name
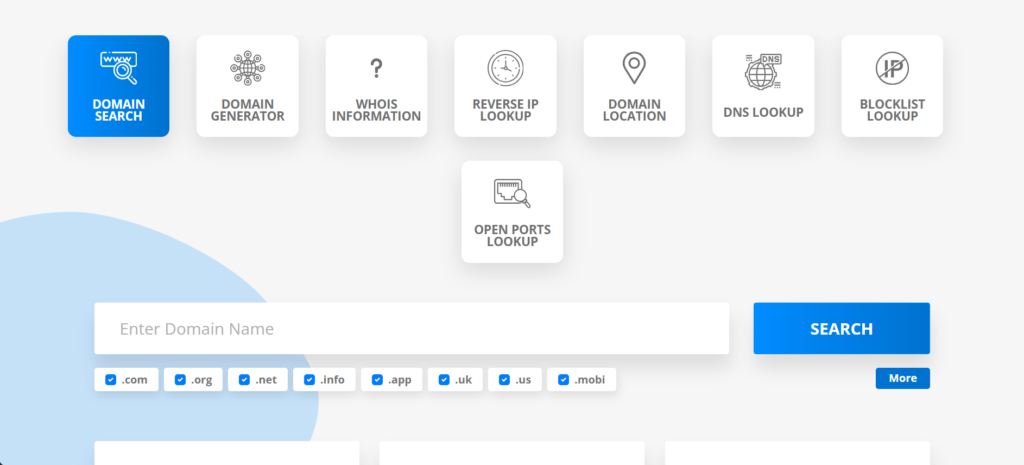
Your domain (e.g., yoursite.com) is your online address—make it memorable and brandable. Prioritize .com for credibility; .org suits nonprofits like your Earth’s Guards projects.
Selection tips:
- Short (under 15 characters).
- Keyword-rich but natural (e.g., earthguards.org).
- Easy to spell/pronounce.
- Check availability + privacy protection.
Registration process:
- Search via any registrar.
- Add to cart (1-2 years).
- Enable WHOIS privacy (free usually).
- Cost: $10-15/year.
Pro tip: Buy variations (.net, .co) to protect brand.
Step 2: Selecting Beginner-Friendly WordPress Hosting
| Feature | Why It Matters | Minimum Spec |
| SSD Storage | Faster loads | 10GB+ |
| Bandwidth | Handle traffic | Unlimited |
| Backups | Data safety | Daily auto |
| cPanel | Easy management | Included |
| Free Domain | First-year savings | Often bundled |
Hosting stores your site files—shared plans ($3-10/month) suit starters. Look for one-click WordPress installers, free SSL, and 99.9% uptime.
Essential features checklist:
Recommended starter specs: 2GB RAM, PHP 8.2+, free CDN trial.
Popular hosting types:
- Shared: Budget-friendly for low traffic.
- VPS: Scaling businesses (your NGO growth).
- Managed WP: Automatic everything.
Step 3: One-Click WordPress Installation via cPanel
Most hosts offer Softaculous/Fantastico installers—zero manual file uploads.
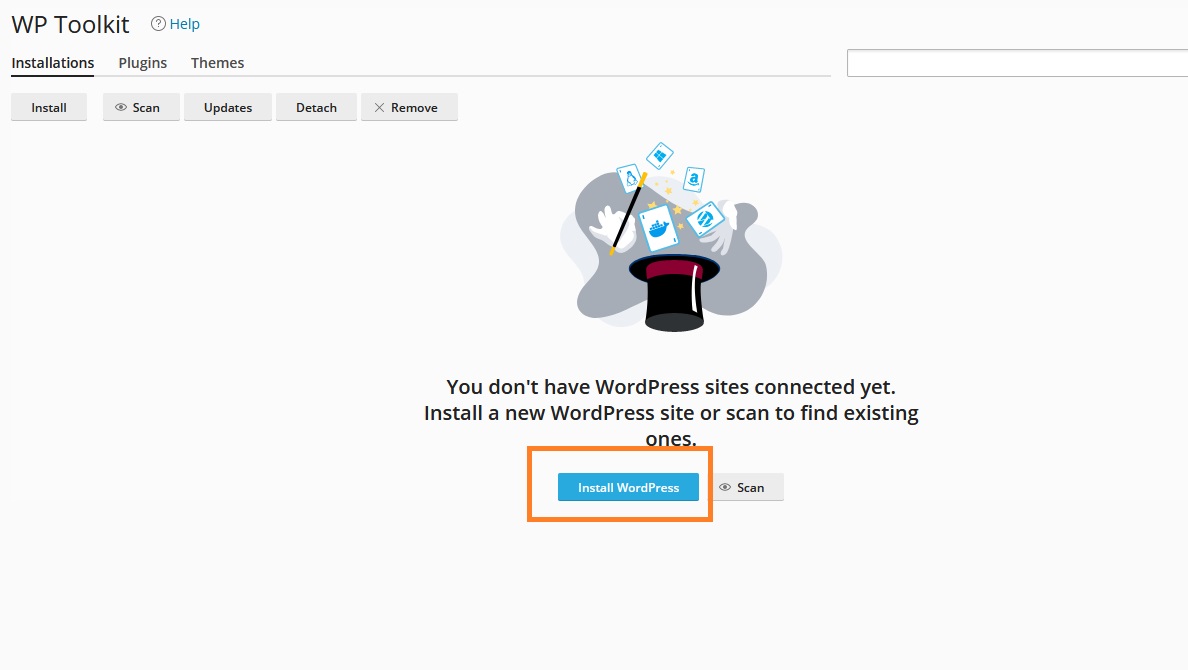
Detailed process:
- Log into hosting cPanel.
- Find “WordPress” or “Softaculous Apps Installer.”
- Click “Install Now.”
- Fill details:
- Domain/subdomain.
- Directory (leave blank for root).
- Site name/description.
- Admin username (not “admin”).
- Strong password + email.
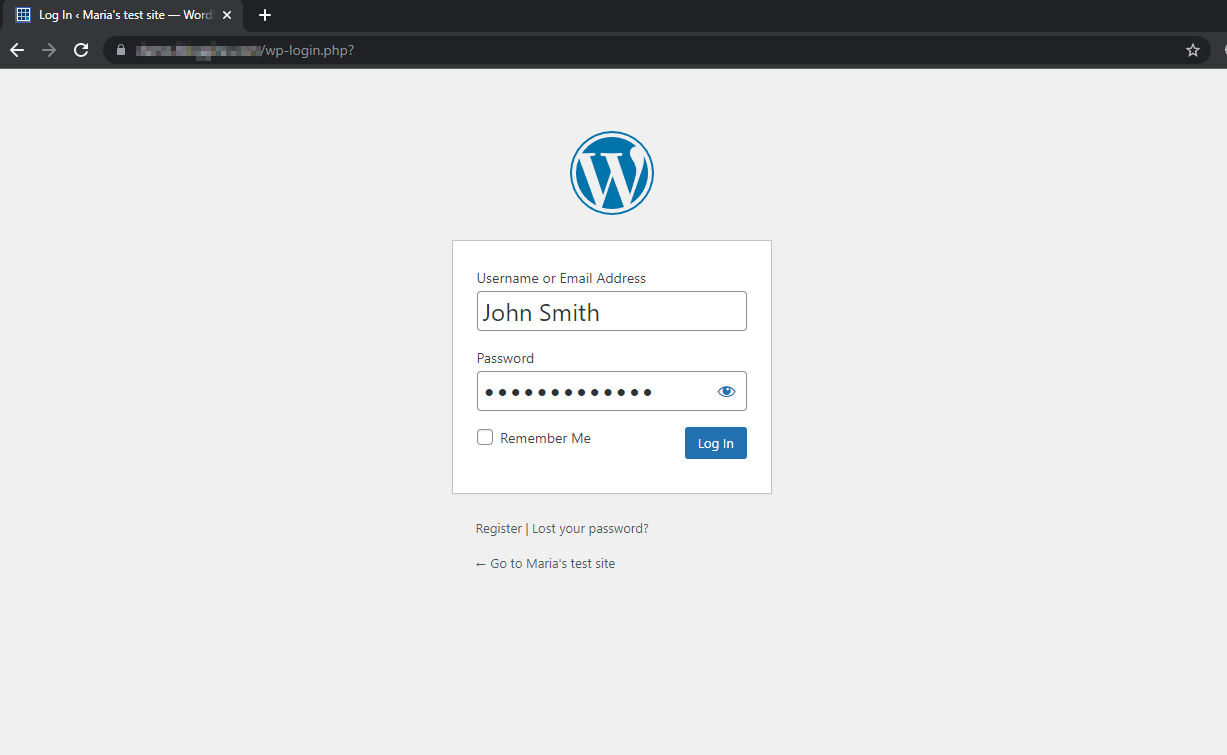
- Click “Install”—completes in 60 seconds.
Success screen shows wp-admin login URL.
Essential Post-Installation Configuration
Immediate first steps after install:
Security Hardening:
- Settings > General: Update site title, admin email.
- Settings > Permalinks: Select “Post name” (/sample-post/).
- Delete default “Hello World” post + sample page.
SSL Activation:
- Hosting > SSL/TLS > Auto-SSL (free Let’s Encrypt).
- Force HTTPS redirect via .htaccess.
Delete unused files: wp-config-sample.php after backing up.
Local WordPress Installation for Testing (XAMPP/LocalWP)
Practice offline without costs—ideal for your multi-project workflow.
XAMPP setup (Windows/Mac/Linux):
- Download from apachefriends.org.
- Install, start Apache + MySQL.
- htdocs > Create “wordpress” folder.
- Upload WP files, create database.
- Run localhost/wordpress > Complete 5-minute wizard.
Benefits: Test themes/plugins safely; migrate to live later.
Common Installation Errors and Fixes
| Error | Cause | Solution |
| “Database connection” | Wrong DB details | Check wp-config.php |
| White screen | PHP memory | Increase to 256M |
| Installation stuck | Permissions | 755 folders, 644 files |
| cPanel missing | Wrong panel | Use hosting dashboard |
Pre-install checklist: PHP 8.0+, MySQL 5.7+, sufficient disk space.
First Login and Quick Site Health Check
Access yoursite.com/wp-admin. Run Tools > Site Health: Fix critical issues (SSL, permalinks).
Install starter plugin: Basic security + cache.
Migration tip for domains: Point nameservers (48h propagation).
CTA: Explore the dashboard in Article 3—your site’s control center awaits.
